
Table of Contents
1. Shower Strategy: Cut Costs with Efficient, Modern Upgrades
2. Best shower design ideas for small bathrooms
3. Product and cost considerations for a modern bathroom shower
4. shower FAQ
5. Conclusion and next steps for a cost-efficient shower upgrade
Shower Strategy: Cut Costs with Efficient, Modern Upgrades
shower strategy isn’t just about aesthetics—it’s a practical plan to cut ongoing costs and simplify maintenance. A modern bathroom shower can lower water use and energy demand, slashing utility bills while delivering lasting comfort. Start with accessible layouts, durable finishes, and fixtures that balance performance and budget, so even smaller spaces feel luxurious without overspending.
Why modern upgrades save money
Lower water and energy bills through efficient fixtures and smart controls.
This aligns with how to install a rainfall shower head and conserve water.
Durable materials reduce maintenance costs and replacement cycles.
Quality seals reduce leaks over time.
Key elements of a cost-conscious bathroom shower
Consider a walk-in shower for accessibility and a clean, modern look.
Pair with frameless enclosure; weigh frameless glass enclosure cost.
Choose practical shower stall configurations with durable finishes that fit your bathroom size.
Match size to room; use moisture- and scratch-resistant finishes.
If a shower curtain is preferred, choose a mold-resistant curtain and curved rod to optimize space.
Mold-resistant curtain and curved rod save space.
These upgrades matter most when paired with careful material choices and compact configurations. With the basics in place, explore best shower design ideas for small bathrooms to maximize function and style without surplus cost.
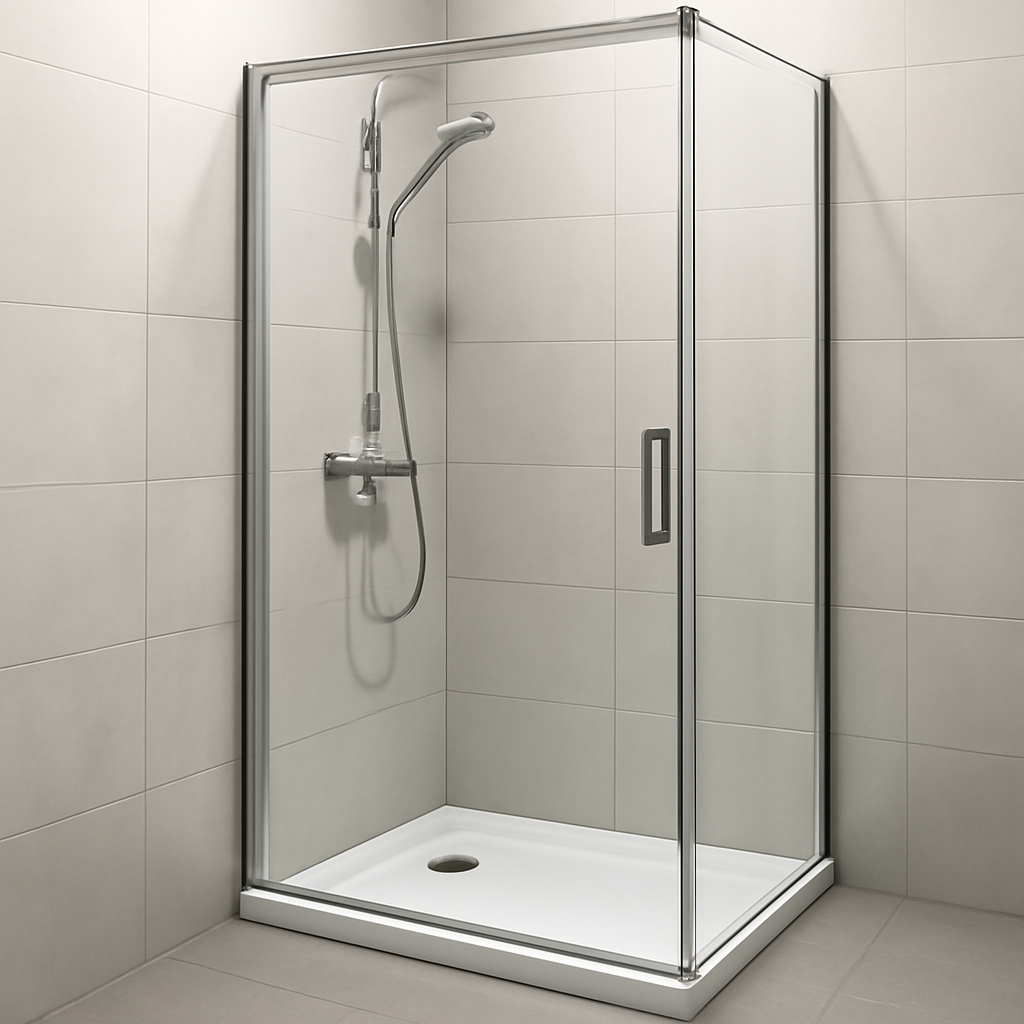
Best shower design ideas for small bathrooms
Small bathrooms benefit from focused design that visually expands the space while preserving comfort and performance. A well-chosen shower setup—whether a walk-in shower, a compact shower stall, or a bathroom shower with a frameless glass enclosure—maximizes floor area and light. For style and practicality, pair clean lines with water-efficient fixtures, and consider how a frameless glass shower enclosure cost fits your budget. If you prefer flexible options, a shower curtain can still work in tighter layouts, but glass often yields the most open feel.
How to install a rainfall shower head
Check compatibility with your plumbing and mounting height.
- Ensure your plumbing can supply adequate water pressure for a rainfall head and verify the arm length clears ceilings or shelves. Typical mounting heights range around 78-80 inches from the floor, but adjust for ceiling height and user stature. In compact spaces, a ceiling-mited or shower-arm install may require short or extended arms to avoid splash zones.
Follow manufacturer instructions and consider a professional if needed.
- Turn off the water, remove the existing head, wrap threads with plumber’s tape, and install the new arm and head. Check for leaks and test spray patterns before sealing walls. For ceiling-mounted rain heads or complex installs, a licensed plumber ensures proper support, water pressure, and warranty compliance.
Water-saving fixtures for compact spaces
Choose a low-flow shower head (≤2.0 GPM where available).
- Modern low-flow models deliver strong, satisfying spray at 1.5–2.0 GPM. Look for WaterSense-rated options and test spray patterns to ensure comfort in a small shower stall or walk-in design. If you’re replacing a bulky head, select a compact model that doesn’t crowd the niche or tilt.
Incorporate thermostatic valve or controls to prevent waste and uneven temps.
- A thermostatic valve maintains a steady temperature, reducing hot-cold cycling and water waste. Pair a single-control or dual-control system with a compact shower head to streamline operation in a limited space, ensuring consistent comfort from the first turn of the knob.
These approaches harmonize with other design considerations, including shower tile layout ideas for a modern bathroom and the overall product and cost considerations for a modern bathroom shower. By prioritizing space efficiency, water performance, and reliable controls, you create a bathroom that feels larger and operates more smoothly.
Product and cost considerations for a modern bathroom shower
Designing a modern shower blends aesthetics with durable performance and ongoing efficiency. In practice, enclosure style, tile layout, and hardware choices drive most of the upfront cost, while the long-term value comes from ease of maintenance and water use. A walk-in or frameless glass shower stall creates an open feel and minimizes niche cleaning, while a shower head upgrade—such as a rainfall option—adds luxury without a hefty footprint. If you’re weighing upgrades, consider how glass, tile, and fixtures interact on your budget. For small bathrooms, combining thoughtful tile layout with a streamlined enclosure often yields the best balance of space and style.
Frameless glass shower enclosure cost
Glass thickness, hardware, and sealants drive price.
Glass thickness typically ranges from 3/8″ to 1/2″ (10–12 mm). Each step up in thickness increases material costs and can affect hardware load requirements. Hardware finishes—polished chrome, brushed nickel, matte black, or specialty coatings—add roughly $150–$600 per enclosure, depending on brand and finish. Premium seals, lubricants, and anti-lime deposits further influence price by a few tens to a couple hundred dollars. In total, a frameless enclosure can range widely based on size and finish, but the enclosure itself is the dominant price driver.
Consider professional installation for seal integrity and safety.
Professional installation ensures precise templating, secure anchoring into studs, and proper sealing to prevent leaks, which protects adjacent finishes and reduces long-term maintenance. Expect installation to add $500–$1,500 beyond material costs, with larger or oddly shaped showers or unusual door configurations pushing toward the higher end. A skilled installer also helps guarantee warranty coverage and long-term stability, essential for a durable, maintenance-light shower experience.
Shower tile layout ideas for a modern bathroom
Patterns like herringbone or large-format tiles create a sleek look.
Pattern choice transforms perception. Herringbone adds subtle movement without clutter, while large-format tiles—such as 12×24″ or 24×48″—minimize grout lines and land a clean, continuous surface. In practice, pattern and size influence installation time and waste, so plan for a slightly higher labor cost if a complex layout is chosen. For best results in a shower, ensure the substrate is perfectly flat to avoid lippage and cracking.
Color and grout choices that visually expand a small space.
Use light, neutral tones for tiles and grout to reflect more light and create a sense of openness. Favor near-matching grout colors to minimize visual breaks, or select a very light grout with a white or pale tile to maximize brightness. For moisture resistance, epoxy grout offers superior stain resistance and easier cleaning, though it can be pricier than cementitious options. In tight spaces, narrow grout joints (1/8″ or less) with consistent layout can make the shower feel larger and more cohesive.
shower FAQ
Practical guidance for common shower questions covers how to install a rainfall shower head, how to choose a water-efficient option, and what drives frameless glass enclosure costs. This is useful for any bathroom shower, whether you’re updating a walk-in shower, a shower stall, or pairing with a shower curtain in smaller spaces.
How to install a rainfall shower head?
If you want to know how to install a rainfall shower head, start by verifying compatibility with your plumbing and selecting the right arm for ceiling or high-wall mounting. Steps: shut off the water, remove the existing head, wrap the threads with plumbers’ tape, install the ceiling or wall arm, then screw on the rainfall head. Tighten by hand and give a final snug turn with a wrench—avoid overtightening. Turn the water back on and check for leaks; adjust the spray angle to direct water toward your body. For ceilings, ensure adequate clearance above the shower area so the head doesn’t strike you. If water pressure is a concern, consider a model with a flow regulator or a higher-quality head designed for lower pressures.
How to choose a water efficient shower head?
Choose a WaterSense-certified shower head with 1.8–2.0 gallons per minute (gpm) to balance comfort and conservation. Confirm a standard 1/2″ NPT connection fits your shower arm. Look for spray patterns that feel full at your available pressure, such as aerated or multi-jet designs, and avoid models that require high pressure to perform. If your water pressure is on the low side, select a head with pressure-compensating technology and test performance before finalizing the purchase.
What affects frameless glass shower enclosure cost?
Frameless glass enclosure cost is driven by glass thickness (commonly 8–12 mm), size and panel count, door style, and hardware finish. Additional factors include installation complexity, tile edge finishing, and any curved or custom shapes. Labor costs rise with precision sealing and alignment, especially in irregular spaces or when retrofitting into existing showers. For planning, small shower enclosures may run roughly $1,000–$2,500 installed, while larger or more complex frameless designs can range from $2,500–$8,000 or more. If you’re weighing options, frameless glass offers a cleaner look and can affect the overall design of a bathroom, whether you’re updating a walk-in shower or a modern shower tile layout.
Conclusion and next steps for a cost-efficient shower upgrade
A cost-efficient shower upgrade blends dependable performance with appealing aesthetics, while keeping long-term durability in focus. Start by auditing how your current setup uses water and energy, then select fixtures that deliver comfort without waste. For many homes, that means a dependable valve, a water-efficient shower head, and a deliberately chosen enclosure or curtain that preserves space and reduces maintenance. If you’re drawn to a rainfall experience or a frameless glass enclosure, weigh the value against current costs and installation realities to avoid over-investing in features that don’t deliver proportionate benefits. Design choices—or the choice between a shower stall and a walk-in shower—should prioritize accessibility and cleaning ease, especially in busy bathrooms. The goal is a refreshed space that feels premium without a premium price tag.
Key takeaways
Cost-efficient upgrades balance performance, aesthetics, and durability.
Prioritize robust valves, ceramic cartridges, and solid-brass components to minimize repairs. Pair these with a well-reviewed shower head that provides strong spray with lower water use. Durable finishes and easy-clean surfaces extend visual appeal and reduce maintenance, delivering ongoing value beyond the initial install.
Plan around water and energy savings while maintaining style.
Choose water-efficient options, such as a 1.5–2.0 gpm shower head with a WaterSense label, and consider pipe insulation and an appropriately sized water heater to cut energy waste. Select tiles and seals that tolerate mildew and are easy to wipe down, ensuring the shower remains visually fresh. For layout, consider a compact, modern shower stall or a walk-in design to maximize perceived space without compromising flair, and keep a practical option like a shower curtain if budget or layout dictates.
Implementation roadmap
Conduct a shower audit and define goals.
Survey the current configuration: fixtures, enclosure type, tile condition, and any leaks. Record water flow from the existing shower head and set concrete goals—target a measurable water use reduction, easier cleaning, and an upgraded look. Use these findings to compare options such as a rainfall shower head versus a standard head, and to evaluate tile layout ideas for a modern bathroom.
Set a realistic budget, source quality fixtures, and schedule phased installation.
Break the project into phases: Phase 1—replace the core fixtures (shower head, valve) and address any leaks; Phase 2—upgrade the enclosure or curtain system and refresh tile grout or layout; Phase 3—final touches like trim, seals, and control placement. Expect fixture costs in the ballpark of a few hundred to a few thousand dollars, plus installation. Use the budget to guide choices between a frameless glass shower enclosure cost versus a shower curtain option, and align decisions with how to choose a water efficient shower head and how to install a rainfall shower head for a cohesive, cost-conscious upgrade.