
Table of Contents
1. Shower Innovation for Profits
2. Product Strategy for Efficiency
3. shower FAQ
4. Practical Design and Installation
5. Conclusion and Next Steps
Shower Innovation for Profits
Why water-saving shower heads matter
Water-saving shower heads are a pivotal upgrade for modern bathroom projects. They cut water use and utility bills in bathroom shower renovations and appeal to eco-conscious buyers and builders pursuing efficiency in walk in shower setups and shower enclosure designs. By selecting a head with efficient flow and reliable performance, you maintain comfort while meeting strict water-use targets. When paired with a streamlined shower enclosure and a simple shower curtain, the overall look stays contemporary while water use remains controlled.
Reduces water use and utility bills for bathroom shower upgrades
Switching from a typical 2.5 gpm to around 1.5 gpm can reduce annual water use by 25-40%, translating to several thousand gallons and noticeable monthly savings.
Appeals to eco-conscious buyers and builders seeking efficiency
This aligns with green-building trends and demand for water-saving shower head recommendations, especially in walk in shower design ideas for small bathrooms and other compact layouts.
ROI and market signals
ROI and market signals underline the business case for efficiency. Lower operating costs shorten payback periods for upgrades, and faster ROI emerges through quicker installations and maintenance savings, especially when upgrading shower heads alongside a practical shower enclosure or curved shower curtain approach.
Lower operating costs shorten payback periods for upgrades
If each head costs about $20–$60 more and saves roughly $6–$12 per month, payback typically falls within 1–3 years, depending on usage and regional utility rates.
Faster ROI through quicker installations and maintenance savings
Modular, water-saving heads simplify installation, reduce service calls for leaks with shower enclosures, and cut rework when integrating rain options or a rainfall shower setup. This also supports efficient installation steps for a complete bathroom upgrade.
Product Strategy for Efficiency
Efficient shower planning combines the right head, proper flow, and careful installation to maintain comfort while reducing water use. In practice, this means selecting low-flow options that preserve spray quality and following proven installation steps that prevent leaks and temperature fluctuations in everyday bathroom showers. The goal is consistency whether you’re outfitting a walk in shower, a compact bathroom with a shower curtain, or a full shower enclosure.
Best options for low water pressure
Aerated shower heads
Aeration mixes air with water to create a fuller feel at a lower flow rate. Most aerated models operate around 1.5–2.0 gallons per minute (gpm), delivering stable coverage even when supply pressure dips. Look for WaterSense-certified or equivalent labeling to ensure the claimed flow rate is accurate and tested. For bathroom shower setups with limited pressure, aerated heads provide a dependable, budget-friendly upgrade without a bundle of fittings.
Pressure-boosting shower heads
These heads incorporate internal mechanisms to maximize perceived pressure at reduced flow. They maintain adequate spray patterns under as little as 20–35 psi, often offering adjustable spray settings. Choosing models with independently rated flow performance and a tested flow range helps ensure compatibility with existing pipes and curbside water use targets.
Multi-flow shower heads
Multi-flow designs deliver several spray patterns from a single head, allowing you to tailor coverage—wide fan, concentrated massage, or mist. In low-pressure homes, cycling between patterns helps optimize sensation without pushing total water use higher. Ensure the selected model remains within low-flow certifications and is compatible with your shower enclosure or walk in shower layout.
| Type | Benefit | Limitation |
|---|---|---|
| Aerated | Fuller feel at 1.5–2.0 gpm; simple upgrade | May feel less intense in very long showers |
| Pressure-boosting | Maintains spray under low psi | Can be more costly; some units require specific plumbing |
| Multi-flow | Flexible patterns, comfortable coverage | Higher variability in water use with certain settings |
How to install a rainfall shower
Step 1: Shut off water supply and verify pressure
Begin by closing the main shutoff and rechecking the system pressure with a gauge. Typical residential pressure runs 40–60 psi; if it’s significantly lower, consider addressing the source before installing a rainfall head. This ensures predictable performance right from the first test.
Step 2: Follow manufacturer instructions: mount mixer
Install the valve or mixer unit following the manufacturer’s instructions. A thermostatic or anti-scald mixer helps maintain comfortable temperatures during mixed spray patterns and maintains reliability with low-pressure inputs.
Step 3: Connect to supply lines and install riser rail
Thread and secure supply lines to the mixer, then mount the riser rail or stud-mounted support. Ensure vertical alignment so the rainfall head hangs squarely and can pivot for cleaning access without leaking at joints.
Step 4: Install rainfall shower head and test for leaks
Attach the rainfall head to the arm or rail, seal all connections, and slowly restore water. Check every joint for leaks and verify temperature control across spray settings. If you’re integrating a shower enclosure or walk in shower design, ensure the head height and rail reach optimize coverage without causing curtain interference or splash beyond the enclosure.
These steps align with practical needs in a modern bathroom shower, supporting water-saving head options and reliable performance. The next area of focus addresses common questions about installation, maintenance, and compatibility found in the shower FAQ.
shower FAQ
A well-designed shower balances comfort, water use, and space. Whether you prefer a shower curtain or a glass enclosure, smart choices today improve daily use and long-term efficiency.
What is the best shower head for low water pressure?
For low pressure, choose a shower head with pressure-compensating flow regulators, aerated spray, and a 1.5 gpm rating (or lower). These features keep a steady feel without waste. In a walk in shower, add a handheld head to boost flexibility while preserving efficiency. Also check compatibility with your bathroom shower valve and ensure the aerator is easy to clean. These features align with the best shower heads for low water pressure.
How do I install a rainfall shower?
Shut off the water, remove the old head, and install a vertical arm or ceiling body designed for rainfall heads. Use Teflon tape on threads, then attach the head securely. Ensure adequate overhead clearance and test for leaks. If pressure is limited, pair the rainfall head with a compatible handheld option. Consider a shower control valve that balances temp and flow for safety.
What are the steps for a shower enclosure installation?
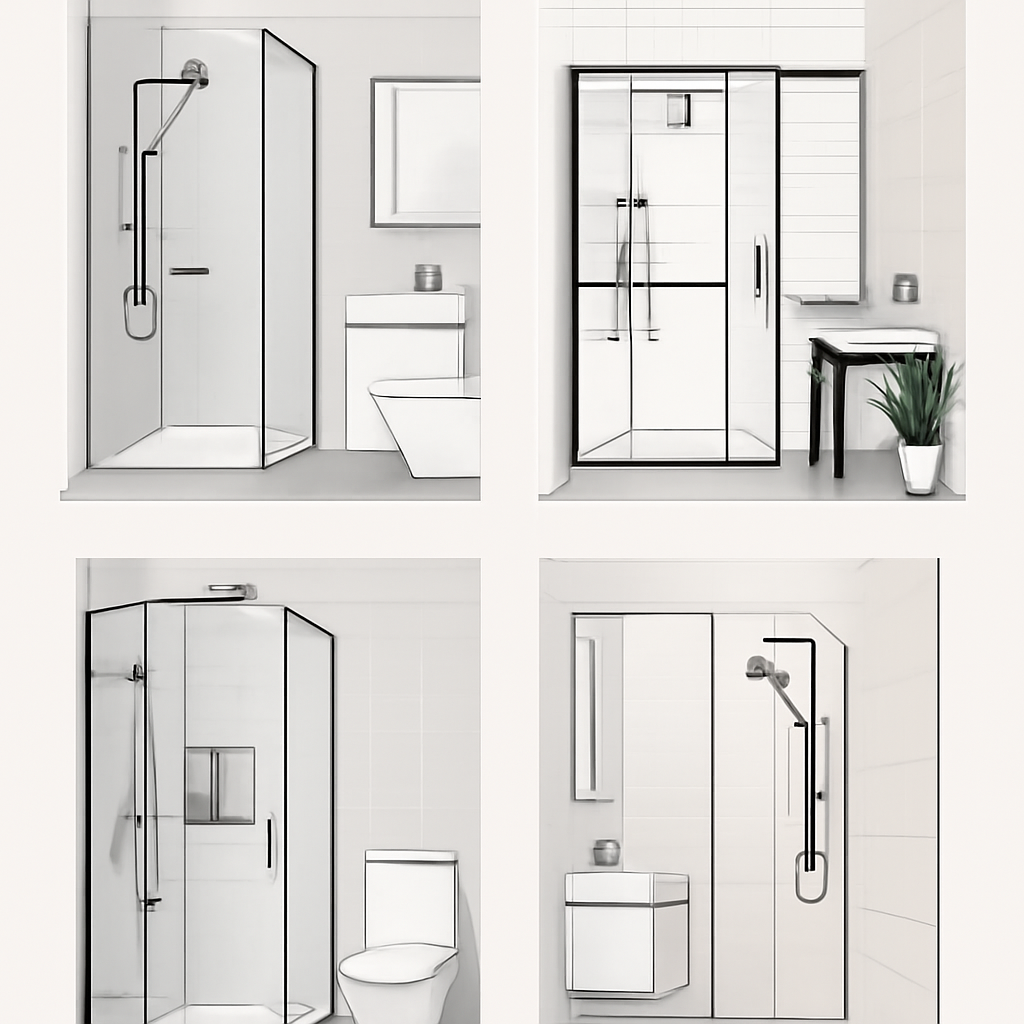
Plan layout, choose framed or frameless glass, and confirm space for doors. Install base or track, mount panels and doors, then seal joints with silicone. Align carefully, run a leak test, and finish with final sealing to prevent moisture escape. For small spaces, a walk in shower with minimal framing can create a sense of openness.
Practical Design and Installation
Thoughtful shower design in compact bathrooms hinges on openness, moisture control, and easy maintenance. Clear glass, frameless profiles, and strategic storage can transform a small bath into a functional, visually larger space. For rainfall or standard shower heads, pairing the right enclosure with water-saving options keeps performance high while reducing consumption.
Walk in shower design ideas for small bathrooms
Use clear glass and frameless profiles to create an open feel
Incorporate recessed niches and slim enclosures to maximize floor space
Shower enclosure installation steps
Prepare the area
Verify square
Install base track and panels per manufacturer
Seal joints with silicone
Perform water test
Adjust for leaks
Shower curtain vs enclosure: choosing the right fit
Curtains offer flexibility and lower upfront costs but can splash more water
Enclosures provide moisture containment and a cleaner finish, but require precise installation
If you’re aiming for the best shower heads for low water pressure, focus on a design that minimizes corners and hard angles where flow can dissipate. In small bathrooms, a rainfall shower head can feel luxurious, but it benefits from a snug enclosure to prevent overspray. For added efficiency, consider water saving shower head recommendations—look for models rated around 1.5 to 1.8 gallons per minute (GPM) with a steady, wide spray pattern. When planning walk in shower installations, ensure the overall footprint supports a comfortable 30×60 inch area (or larger in longer baths) and use a frameless door to preserve sightlines.
Under Walk in shower design ideas for small bathrooms, recessed niches offer convenient storage without encroaching on the floor. Built-in shelves or a slim vertical niche keep toiletries accessible while maintaining a clean, minimalist look. White or light tiles with large panels visually extend the space, and a low-profile shower base or curbless entry can improve accessibility and create a seamless transition to the bathroom floor. For doors, a single fixed panel with a minimal hinge or a sliding option reduces moving parts and maintenance calls.
Enclosure installation demands precision. Start with careful area preparation, then verify the framing is square using a 3-4-5 method or a framing square. Install the base track and panels per the manufacturer’s guidelines, paying attention to the alignment of doors and weather stripping. Seal all joints with 100% silicone, and run a thorough water test before finishing. If leaks appear, re-seal and re-check the panel alignment. These steps are essential to preserve longevity and prevent moisture issues in a compact bathroom.
Conclusion and Next Steps
Smart choices in shower design and fixtures translate to lower utility bills, easier maintenance, and more confident project outcomes. By aligning product selection with space constraints and patient attention to water use, your installations become both economical and appealing. The guidance below translates to actionable steps for teams delivering bathroom shower upgrades, whether you’re changing out a single unit or planning a full walk in shower redesign.
Key takeaways for professionals
Prioritize water-saving shower heads to cut utility costs
Opt for models in the 1.5–2.0 GPM range rather than traditional 2.5–3.0 GPM heads. Even modest reductions in flow can cut hot-water demand dramatically, since energy use scales with water temperature and volume. A typical eight-minute shower drops from about 20 gallons at 2.5 GPM to roughly 14–16 gallons at 1.8–2.0 GPM, yielding substantial annual savings across a multi-unit portfolio. Pair these heads with aerating or pressure-boosting features to preserve perceived performance.
Match product choices to space: walk in showers, curtains vs enclosures
Design for the bathroom’s characteristics. In small spaces, a walk in shower with a frameless or semi-frameless enclosure visually enlarges the room and reduces cleaning niches. For budget-conscious projects, a high-quality shower curtain can be a practical alternative, but expect more maintenance and mold control considerations. When space permits, a shower enclosure with minimal framing and an adjustable rainfall or multi-function head offers a premium feel without sacrificing accessibility.
Highlight long-tail benefits like water saving shower head recommendations
Market messages should emphasize the long-tail advantages: better performance under low water pressure, easier retrofits in existing bathrooms, and clear installation pathways for features like rainfall shower heads. Include practical examples such as “best shower heads for low water pressure” and guidance on “how to install a rainfall shower.” When appropriate, reference walk in shower design ideas for small bathrooms to illustrate how water efficiency can align with broader space-planning goals.
Immediate implementation checklist
Audit current installations and identify targets for head replacements
Compile a list of locations, record current flow rates, and flag units with the oldest heads or highest maintenance needs. Establish replacement targets (e.g., 20% of units this quarter, 50% next quarter) and track ROI based on water and energy use reductions.
Prepare a demonstration room to showcase best shower heads for low water pressure
Set up two or three labeled stations: a rainfall shower head, a high-efficiency aerated model, and a standard head for comparison. Include a flow meter or simple dye test to quantify GPM differences and a quick maintenance readout (ease of cleaning, scale resistance, warranty terms).
Plan installer training on enclosure installation steps and rainfall shower setup
Develop a concise module covering shower enclosure installation steps, including measuring, sealing, and drainage considerations. Add hands-on practice for rainfall shower setups, diverter valve configuration, and pressure balance testing to ensure reliable performance across walk in shower installations. Include curtain guidelines where applicable to reinforce space and maintenance decisions.