Table of Contents
1. Shower Renovation ROI: An ROI-focused overview
2. Design strategies to boost value with a rainfall shower
3. Installation basics and practical tips
4. shower FAQ
5. Conclusion: practical guidance for ROI-focused shower upgrades
Shower Renovation ROI: An ROI-focused overview
Upgrading a shower drives one of the strongest ROI gains in a bathroom. A well-designed shower stall with a quality shower head, glass enclosure, and modern tile boosts perceived luxury and market appeal without a full remodel. Upgrades like a rainfall shower and a clean shower curtain or glass doors catch buyers’ eyes and make the space feel larger and more spa-like.
When evaluating a bathroom shower upgrade, focus on metrics that matter to resale: cost vs. value, payback period, and resale impact. Account for ongoing maintenance costs and the lifespan of fixtures. Align renovation goals with lifestyle needs—accessibility, future-proofing, and family routines—so the investment remains practical today and appealing to buyers tomorrow. This balance sets the stage for design strategies to boost value with a rainfall shower.
Why a stylish shower adds value to a home
Boosts perceived luxury and market appeal; rainfall showers and glass enclosures drive interest.
Key ROI metrics for a bathroom shower upgrade
Cost vs. value, payback period, and resale impact guide decisions.
Aligning renovation goals with lifestyle needs
Accessibility, future-proofing, and family routines ensure practical long-term value.
Design strategies to boost value with a rainfall shower
A rainfall shower delivers a spa-like vibe while preserving valuable square footage in compact bathrooms. By pairing a thoughtfully chosen showerhead with a streamlined stall, you can increase perceived space and daily comfort. The right finishes and a coordinated shower curtain elevate the overall look, making the bathroom feel larger and more modern without a full renovation.
Selecting the best rainfall showerhead for small bathrooms
Compact and wall-mounted options
In small bathrooms, opt for compact or wall-mounted rainfall heads to keep the ceiling line clean and unobtrusive. Heads around 6 to 8 inches in diameter or slim-profile wall-mounted models reduce overhead clutter while still delivering a soothing, rainfall-like flow. Pairing the ceiling-mounted feel with a handheld option gives you flexibility for cleaning and targeted rinsing without overwhelming space.
Water pressure and simple maintenance
Rainfall heads perform best with steady water pressure. Aim for 40–60 psi in most homes; if your pressure runs lower, choose models with built-in flow assistance or look for heads with an efficient micro-nozzle pattern. Also prioritize easy maintenance: anti-scale nozzles, removable caps for descaling, and a compatible filter at the supply to curb mineral buildup that can dull the rainfall effect over time.
Optimizing the shower stall and enclosure
Frameless glass enclosure to visually expand the space
A frameless glass enclosure creates uninterrupted sightlines, making the bathroom feel larger. Use 8–10 mm tempered glass for durability and a minimal hardware footprint. Clear glass with discreet hinges and prevents visual blockages, while a slim profile door keeps the line of sight open, enhancing perceived roominess without compromising privacy or function.
Tile layouts and curbless entries for a modern look
Layout choices matter as much as the hardware. Large-format tiles (12×24 inches) laid in a clean, linear pattern reduce grout lines and simplify cleaning. A curbless entry with a linear drain reinforces the modern aesthetic and sheds water away efficiently. Consider a continuous tile run from the shower into the bathroom for a seamless transition that reads as one space, not two boxes.
Coordinating finishes with stylish shower curtain ideas for modern bathrooms
Moisture-resistant fabrics and color-coordinated patterns
Select moisture-resistant fabrics such as PEVA or coated polyester, and choose colors or patterns that harmonize with wall tiles and the showerhead finish. Subtle patterns in cool neutrals or soft geometrics can complement a bathroom shower without competing with the fixtures.
Pair with matching rods and hardware for a cohesive design
Coordinate curtain rods and hardware with the faucet and door finishes—brushed nickel, matte black, or polished brass all work with rainfall aesthetics. Opt for corrosion-resistant materials and consider rod height around 72–78 inches to keep the curtain away from splash zones while maintaining a clean, integrated look.
These design choices lay a solid foundation for installation basics and practical tips that follow, ensuring a durable, stylish, and water-efficient bathroom update.
Installation basics and practical tips
A well-planned shower setup reduces leaks, speeds construction, and delivers consistent performance. From a walk-in design to tile patterns and a high-flow shower head, careful choices early on pay off. Consider how a rainfall shower can elevate a compact bathroom shower, and how a stylish shower curtain can finish the look without compromising access or drainage.
How to install a walk in shower
Plan plumbing layout, piping, and waterproofing early
Start by marking the drain location relative to existing waste lines and the shower valve. Pick a layout that minimizes elbows in the run and keeps shut-off valves accessible. Run supply lines with ample clearance for future maintenance and separate hot/cold lines to avoid cross-connection. Plan space for a curbless threshold if you’re pursuing a true walk-in experience. Early decisions here save rework later and help ensure your bathroom shower remains watertight.
Use a waterproof membrane and proper slope to prevent leaks
Install a waterproof membrane behind backer board and tiles. A membrane acts as a contingency for movement and minor moisture seepage. Slope the shower floor at about 1/4 inch per foot toward the drain, and verify the drain is securely anchored. Use a tile underlayment with a built-in curb or a low-profile threshold to keep water from spilling onto the bathroom floor. Layered correctly, the system reduces the risk of mold and long-term damage.
Easy DIY shower tile installation ideas
Plan a simple pattern for beginners
Opt for straightforward layouts like a running bond, checkerboard, or vertical stack that minimizes cutting. Keep tile sizes modest (4×4 or 6×12 inches) to simplify spacing and alignment. A calm grout color helps hide small errors while delivering a clean, modern look.
Pre-cut tiles
Cut most pieces ahead of time so you’re not slowing the project with frequent stops. Use a wet saw for precision and wear eye protection. Transitions at niches or seating areas should be pre-planned to avoid awkward partial cuts.
Grout sealing
Seal grout after the recommended cure time to resist moisture and soap staining. Use a water-repellent, silicone-based sealant around corners, niches, and the perimeter of the shower to prevent water penetration behind the tile.
Dry-fit tiles before thinset to avoid mistakes
Lay out the full pattern dry before applying thinset. This step helps you spot alignment issues, adjust tile spacing, and ensure accurate cuts at edges—saving time and material in the long run.
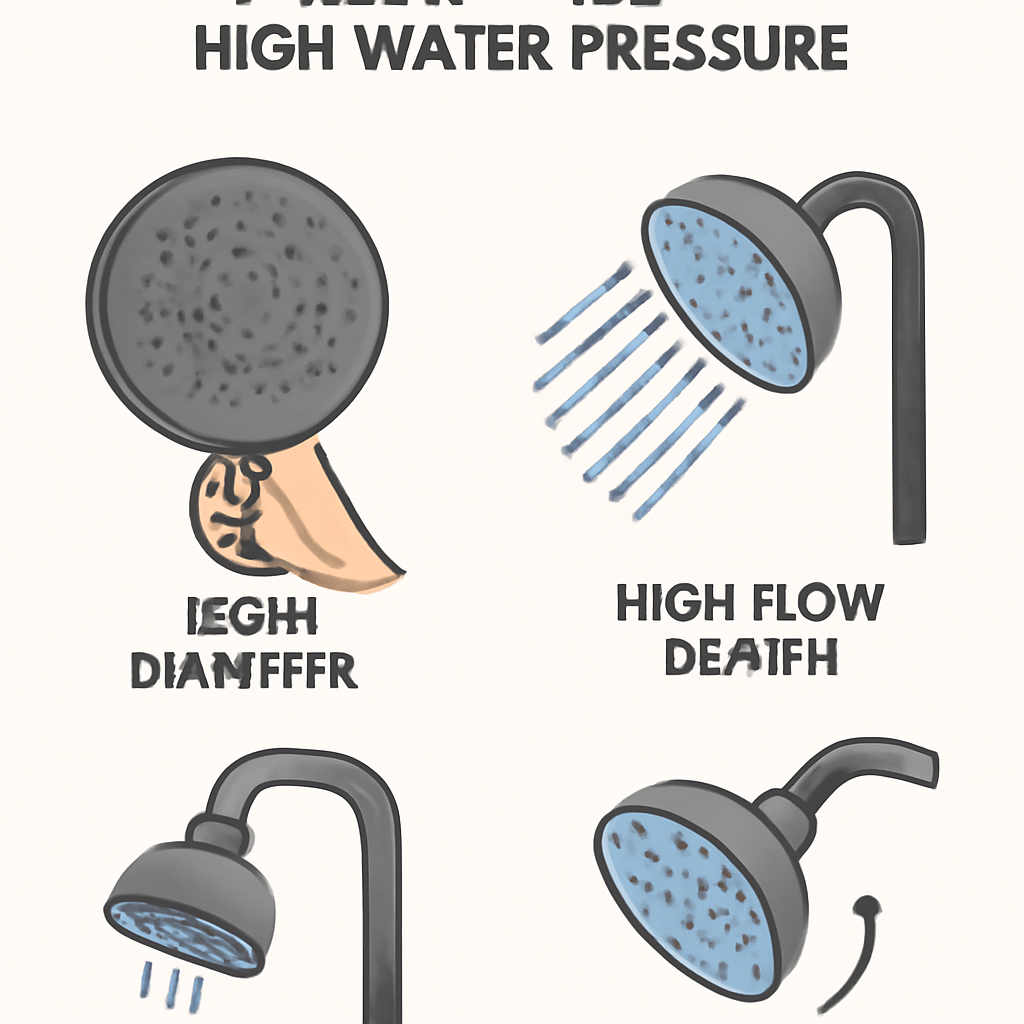
How to choose a shower head for high water pressure
Check flow rate (GPM) and compatibility with your system
Check the flow rate at your main supply: higher psi can push more water through, but your plumbing and water heater must handle the demand. Aim for a balanced solution: 1.8–2.5 GPM is common for efficient fixtures, yet some high-pressure systems benefit from models rated at the higher end of that range. Verify compatibility with existing valves and any filtration you use.
Consider anti-scald features and angled spray options
Anti-scald valves and thermostatic controls protect against sudden temperature spikes in strong pressure. Angled or multi-function spray heads can improve coverage without increasing water use. For small bathrooms, look for a compact rainfall showerhead that delivers a broad spray without overwhelming the space. If you’re updating a shower curtain setup for a modern bathroom, pair a minimalist curtain with a clean, wall-mounted head for a streamlined look.
shower FAQ
A well-planned shower upgrade improves daily comfort and resale appeal. The guidance below covers ROI, timelines, and maintenance for common shower improvements, including rainfall showers, shower stalls, and curtain choices.
What is the typical ROI of a bathroom shower renovation?
Renovations that modernize the shower area often deliver solid value, with typical ROI in the 60–70% range for bathroom projects. Upgrading to a durable shower stall with glass enclosure, wall tiles, and efficient fixtures can boost perceived value without remodeling the entire bathroom. For smaller spaces, emphasize compact, high-quality finishes and water-saving shower heads. If you’re researching options like the best rainfall showerhead for small bathrooms, prioritize models that balance spray coverage with a slim profile. When planning, consider how the upgrade aligns with broader bathroom aesthetics, such as stylish shower curtain ideas for modern bathrooms.
How long does a walk-in shower installation take?
A standard walk-in shower installation generally spans 2–5 days, depending on plumbing layout, waterproofing, tile work, and glass choices. A simple shower stall with fixed glass can lean toward the shorter end, while niche tiling or custom drainage adds time. If you’re exploring how to install a walk in shower yourself, set aside extra days for careful waterproofing and grout sealing. For homes with particular water-pressure needs, how to choose a shower head for high water pressure should factor into the planning.
Do rainfall showers require more maintenance?
Rainfall showers do not inherently require more upkeep, but head-scale buildup is common in hard water areas. Regular descaling, wiping the faceplate, and checking seals keep performance steady. If mineral deposits are persistent, consider a water-softening solution or a scale-filter head. Pair the update with easy DIY shower tile installation ideas and ensure the rest of the bathroom remains low-maintenance. Finish with a fresh shower curtain to complete the modern look and simplify cleaning.
practical guidance for ROI-focused shower upgrades
A well-planned shower upgrade delivers value beyond aesthetics. By focusing on timeless finishes, efficient layouts, and durable components, you can boost daily comfort while safeguarding resale value. Integrate a dependable shower stall, a versatile rainfall shower, and a practical shower curtain strategy to keep the bathroom shower look modern for years. Prioritize changes that reduce ongoing costs, such as water- and energy-efficient fixtures, without compromising style.
Key takeaways for ROI-focused renovation
Prioritize timeless finishes and efficient layouts
Neutral tiles, large-format options, and slip-resistant floors age well and require less maintenance. A walk-in shower layout with a frameless enclosure can open space and reduce leakage risk, making the bathroom feel larger without a full remodel.
Invest in a high-quality shower head and durable tiles
A premium rainfall showerhead or a flexible hand-held model elevates daily use. Pair it with durable porcelain or textured ceramic tiles that resist moisture and staining. For small bathrooms, choosing a compact rainfall showerhead ensures a spa-like feel without crowding the space.
Plan for water and energy efficiency to reduce ongoing costs
Low-flow fixtures and properly rated valves cut both water and heating bills. If you live in a high-pressure area, select a shower head designed to perform well under strong supply pressure and avoid oversized components that add cost.
Consider maintenance-friendly finishes and cohesive styling
Choose finishes with broad appeal and easy care. Larger tiles with minimal grout lines simplify cleaning, while a coordinated shower curtain idea or glass door maintains the modern look without sacrificing practicality.
Align plumbing and design for resale confidence
Ensure the shower stall and bathroom shower layout work with existing plumbing or planned rerouting. A coherent combination of tile, fixtures, and curtain options reinforces perceived value and minimizes surprises at resale.
| Initiative | Benefit | Typical Cost Range |
|---|---|---|
| Rainfall shower head + valve | Enhanced daily experience, efficiency | $150–$350 |
| Durable tiles + sealant | Longevity, less maintenance | $2–$8 per sq ft + installation |
| Frameless enclosure or curtain upgrade | Modern look, easy cleaning | $200–$1,200 (curtain $20–$60) |
Next steps and a simple implementation checklist
Set a budget
Define a target range for fixtures, tile, and labor. A balanced upgrade often sits between mid-range fixture packages and durable tile selections.
Select fixtures
Choose a shower head suited to your water pressure and a valve that supports consistent temperature. Decide between a shower curtain or glass enclosure to match your bathroom’s style.
Map water lines
Confirm existing lines and plan any adjustments needed for a walk-in shower or new shower stall configuration.
Hire licensed pros if needed
Engage a plumber for rough-in work and a licensed tiler for durable, leak-proof installations.
Schedule installation window and plan maintenance schedule
Block time for installation, test for leaks, and set a quarterly maintenance routine to keep grout sealed and finishes fresh.